
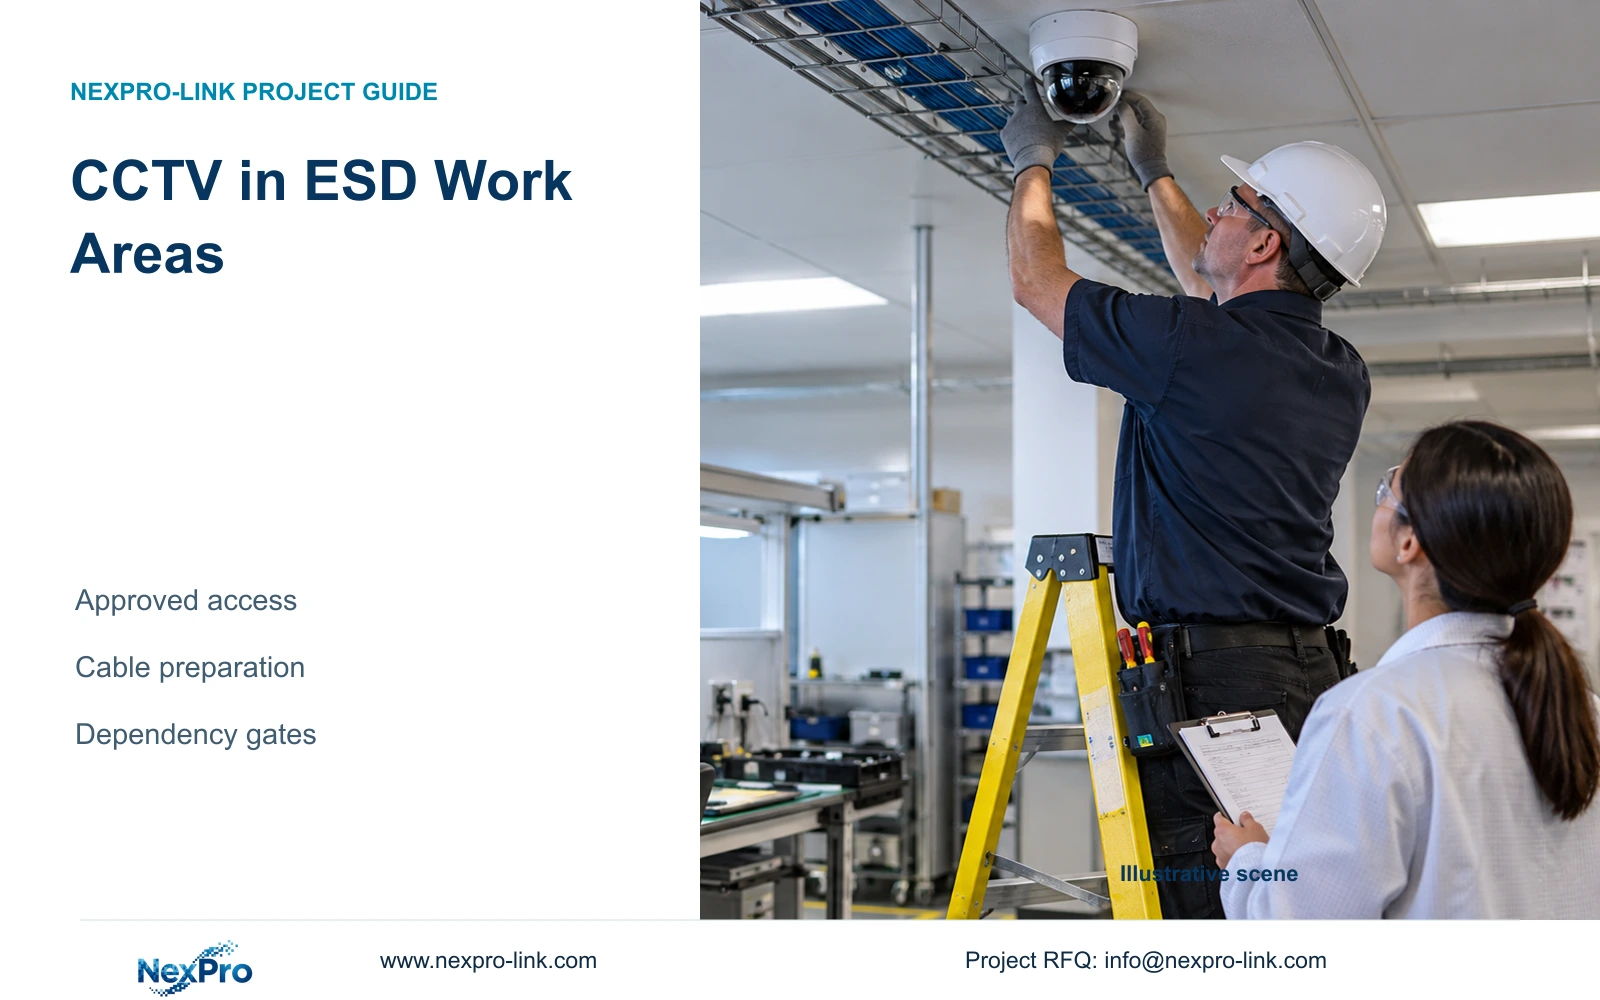
CCTV above an established ESD-controlled area needs an approved work method as well as a suitable camera. Coordinate access, cable routes and preparation dependencies before release.
Section 01
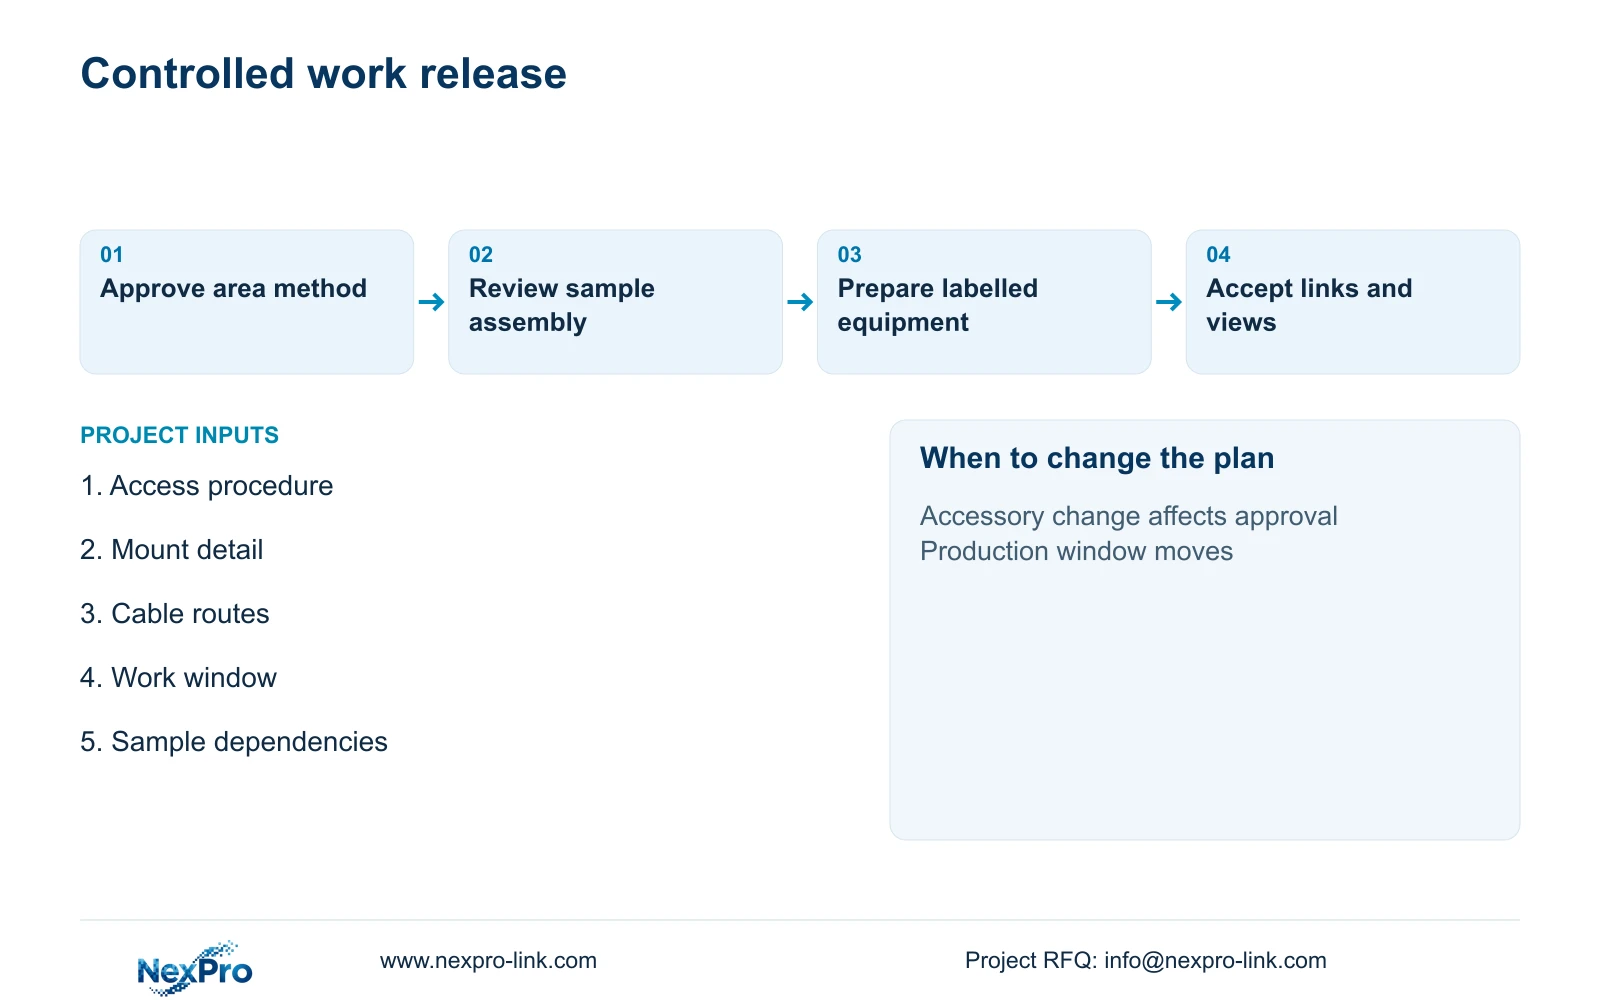
Approve the work method before entering the area
For ESD work areas and CCTV installation, coordinate access, tools, cable routes and maintenance with the facility's procedure. An ordinary camera datasheet cannot establish ESD process certification. The project manager should obtain the site's installation conditions and assign an approval owner before booking work above active production. Equipment suitability and permission to perform the work are separate decisions.
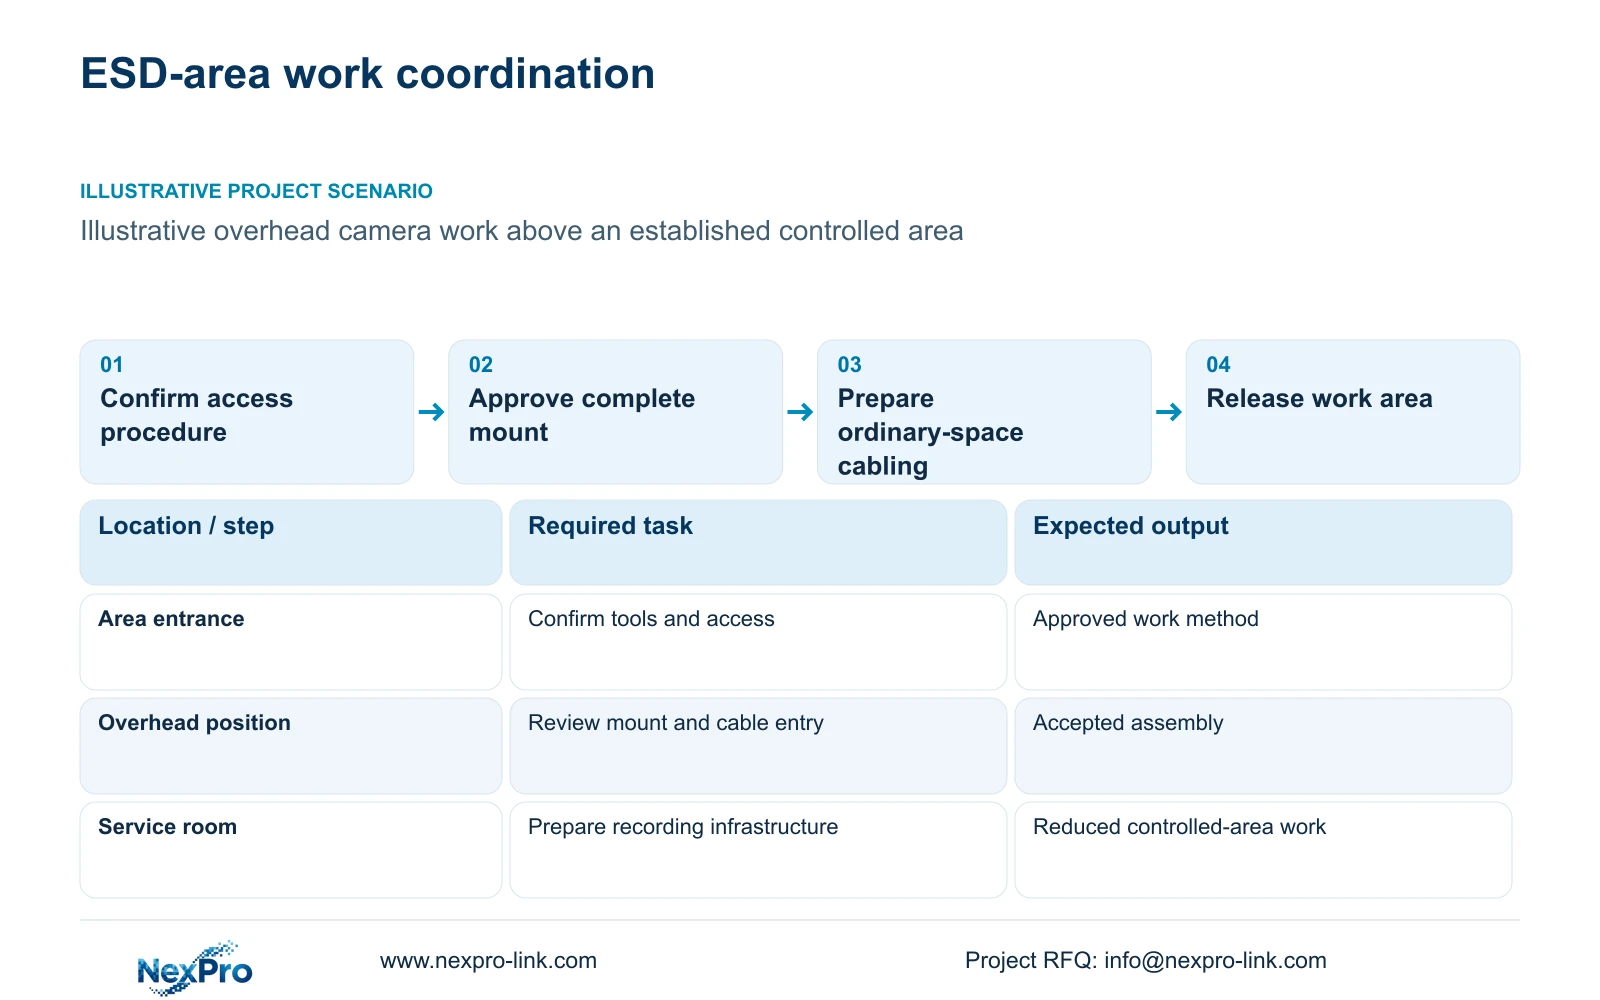
Illustrative project scenario: Cameras must be installed above an established electrostatic-discharge controlled work area. Assume the facility already has an access procedure and operations must coordinate a work window. The procedure, permitted tools and production status have not been supplied. This is a planning scenario, not an instruction to enter or modify a controlled area.
Prepare a method outline showing the access route, work position, materials brought into the area and how the site will release it back to production. Have the facility identify required precautions and approvals. If those conditions are unresolved, keep the installation date provisional. A delivered camera does not make the site ready for mounting or cable work.
Section 02
Separate camera fields from facility ESD practice
The supplied ordinary 5MP BL2812M and source Dome DM2812M specifications retain 2880×1620 output, a 2.8-12mm motorized lens, PoE and IP66 fields. These help assess the intended security view and equipment interface. They do not approve the camera, bracket, cable, packaging or installation activity for the site's controlled process.
Ask the facility to identify material, mounting and handling restrictions affecting the complete assembly. Compare an approved position outside the controlled work envelope with the requested overhead position. Relocation may simplify access, but it must retain the required handover or route. If it does not, preserve the overhead requirement and obtain the appropriate approval rather than treating the easier location as equivalent.
Do not improvise an ESD or grounding method from the camera housing description. The responsible facility and electrical designers should define the applicable installation requirements. Document the accepted method and its supplier inputs. A later bracket substitution or cable-entry change may require review even when the camera electronics and image specification remain unchanged.
Section 03
Plan cable work around production access
Complete route surveying and approved preparatory work before production access becomes restricted wherever the project programme allows. Identify tray access, penetrations, supports and termination points, then separate work in ordinary spaces from work over the controlled area. The local installer should report which activities need the facility window and which can be completed independently.
CASE02 offers an illustrative scale check: 64 new continuous links total 3,744 m, with assumed individual lengths of 41-76 m. Its supplied cutting plan uses 13 reels of 305 m and contains no extra procurement reserve. Those are reference inputs, not measured routes for this ESD installation. Replace them with the accepted drawing before purchasing cable.
Select termination and testing methods deliberately. CASE02 assumes module-ended permanent links; a direct-plug arrangement changes the method and material count. The SP5648 Cat6 patch-panel and DT968MX tool-less module references are termination products, not bulk cable specifications. Have the site approve cable construction and routing conditions, then label the completed links before the controlled work window is closed.
Section 04
Overlap only preparation that is genuinely independent
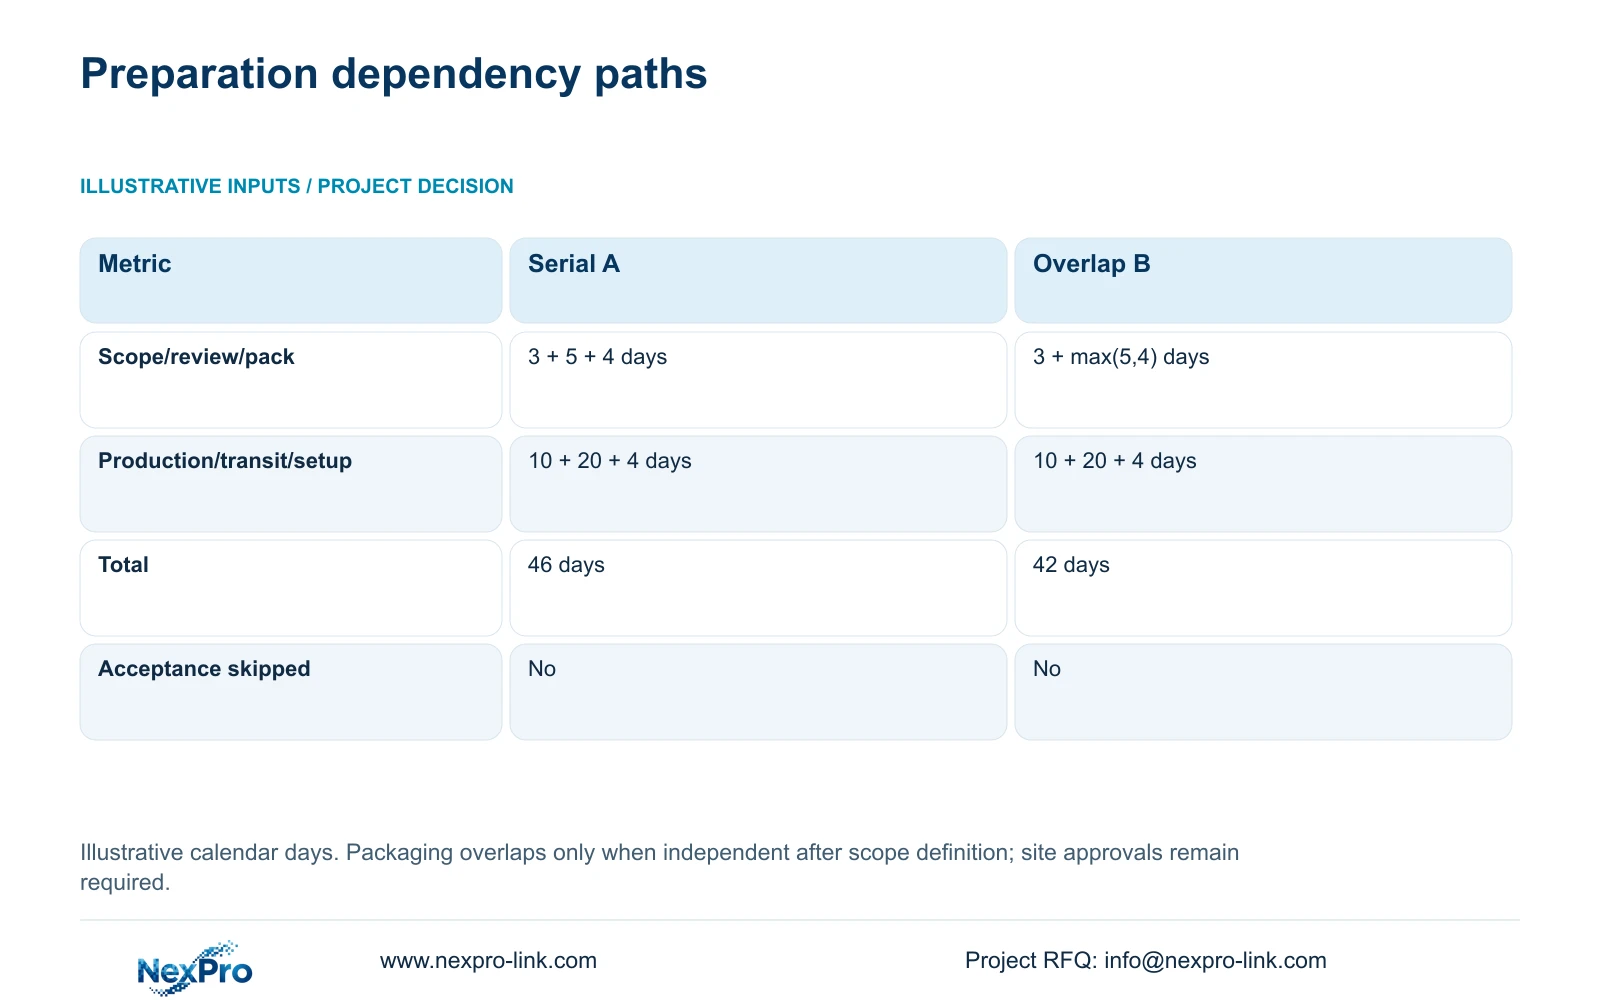
Use the supplied illustrative calendar-day inputs: technical scope 3 days, sample review 5, packaging preparation 4, production 10, transit 20 and site setup 4. A fully serial path is 3 + 5 + 4 + 10 + 20 + 4 = 46 days. If packaging preparation is genuinely independent after technical scope, the path becomes 3 + max(5,4) + 10 + 20 + 4 = 42 days.
The four-day reduction comes entirely from overlapping packaging preparation with sample review. For this topic, independent work could mean preparing a location-label layout after its fields are fixed. It cannot include making approval-dependent camera or mount changes before the sample is accepted. If packaging depends on final dimensions or accessory decisions, retain the serial dependency.
Neither option skips technical acceptance or the facility's site-access approval. These numbers are teaching inputs, not quoted NexPro-Link lead times. Confirm working calendars, transport arrangements and approval timings for the actual programme. Keep the four-day site-setup assumption separate from permission to work: a restricted access window can change the path even when shipment arrives as planned.
| Decision | Serial A | Independent overlap B |
|---|---|---|
| Total calendar days | 46 days | 42 days |
| Packaging during sample review | No | Only if independent |
| Technical acceptance skipped | No | No |
| Site access approval retained | Yes | Yes |
Section 05
Retain approval gates while reducing avoidable site work
Recommend facility-approved installation with ordinary-space preparation completed ahead of the controlled access window. Bench preparation, location labels and documented settings can reduce the work remaining at the production area without replacing site focus, alignment or facility acceptance. Price the approved method rather than assuming installation effort from camera quantity alone.
The project manager should assign gates for technical scope, sample acceptance, production release and site readiness. If a mount or accessory is changed during sample review, update affected packaging and installation records. If the facility changes the access procedure, review the work method and programme. A shorter preparation path is useful only while its dependency assumptions remain true.
Keep recorder, switches and batteries in suitable accessible rooms where the topology permits. Backup protection follows actual electrical circuits, and the complete PoE-switch AC load already includes its powered cameras. The ordinary package can support the accepted security task; specialist location requirements and local electrical work should remain separately assigned rather than being implied by one equipment order.
Section 06
Deliver the installer a controlled-area work pack
The supply handover should contain location IDs, accepted mount references, cable routes and the facility-approved access conditions. Distinguish equipment supplied by NexPro-Link from local supports, penetrations and electrical work. Include the approved sample configuration so the installer does not have to resolve avoidable model or accessory uncertainty above an operating work area.
NexPro-Link's BOQ support and OEM/project preparation scopes can help coordinate equipment records, labels and packing against the accepted schedule. For this project, labels should identify installation destinations without implying ESD certification. Keep packaging artwork approval separate from process approval, and record any accessory change that affects the complete assembly.
At site acceptance, confirm the physical installation matches the approved method, the links have the agreed test records and the required event is visible in recorded footage. Have the facility release the area through its own procedure. Preserve the access and mounting documentation for maintenance, because a later camera replacement can recreate the original work constraints.
Section 07
Buyer questions
Can packaging start while an ESD-area sample is being reviewed? Only for work whose inputs are already fixed and genuinely independent. Hold anything affected by the sample's housing, mount, accessory or acceptance outcome until those decisions are approved.
Does installation before production remove all site approval needs? No. The facility still determines permitted materials, methods and release conditions. Earlier access may make coordination easier, but it does not establish product or process suitability.
What should be retained for later camera replacement? Keep the accepted mount and cable details, location conditions, access procedure and recording settings. Review substitutions against that complete installation basis before booking maintenance.
Section 08
Coordinate your ESD-area installation release
Send your facility access procedure, proposed mounting and cable-route drawing, required work window and sample-approval dependencies to info@nexpro-link.com to discuss equipment preparation and project packing.
Engineering references
These sources support the general planning principles. Always use the selected product's current datasheet and applicable project standards for final design.